Fix · Receipts aren't printing
Receipts may not be printing for a few different reasons — let's troubleshoot:
After a power outage
After an outage, the printer usually just needs to find the network again. Work through these checks in order — most printers come back online by the second step.
Step 1 · Check the Network LED
Look at the Network LED first. Solid green means the printer is connected to the network.

If the Network LED is off or the wrong color, reseat the Ethernet (LAN) cable at both ends — at the printer and at the wall port or router. Push each end in until it clicks.
Step 2 · Power LED flashing green
A flashing green Power LED means the printer isn't pulling an IP address from the network. The go-to fix here is to move the Ethernet cable to a different port on the wall or router, then let the printer reconnect.
Step 3 · Clear any stuck print jobs
If the lights look good but receipts still aren't coming through, jobs may be stuck in the queue from when the power dropped. Power the printer off, then clear the queue in the Business Dashboard: Settings → Hardware → Clear Queue.
Step-by-step for the Hardware page is in Business Dashboard Settings.
WiFi changed — using a mini router
If your store's WiFi network or password changed, the mini router needs to reconnect to the new network before receipts will print again. Work through these steps to reconfigure it.
Step 1 · Find the router's WiFi credentials
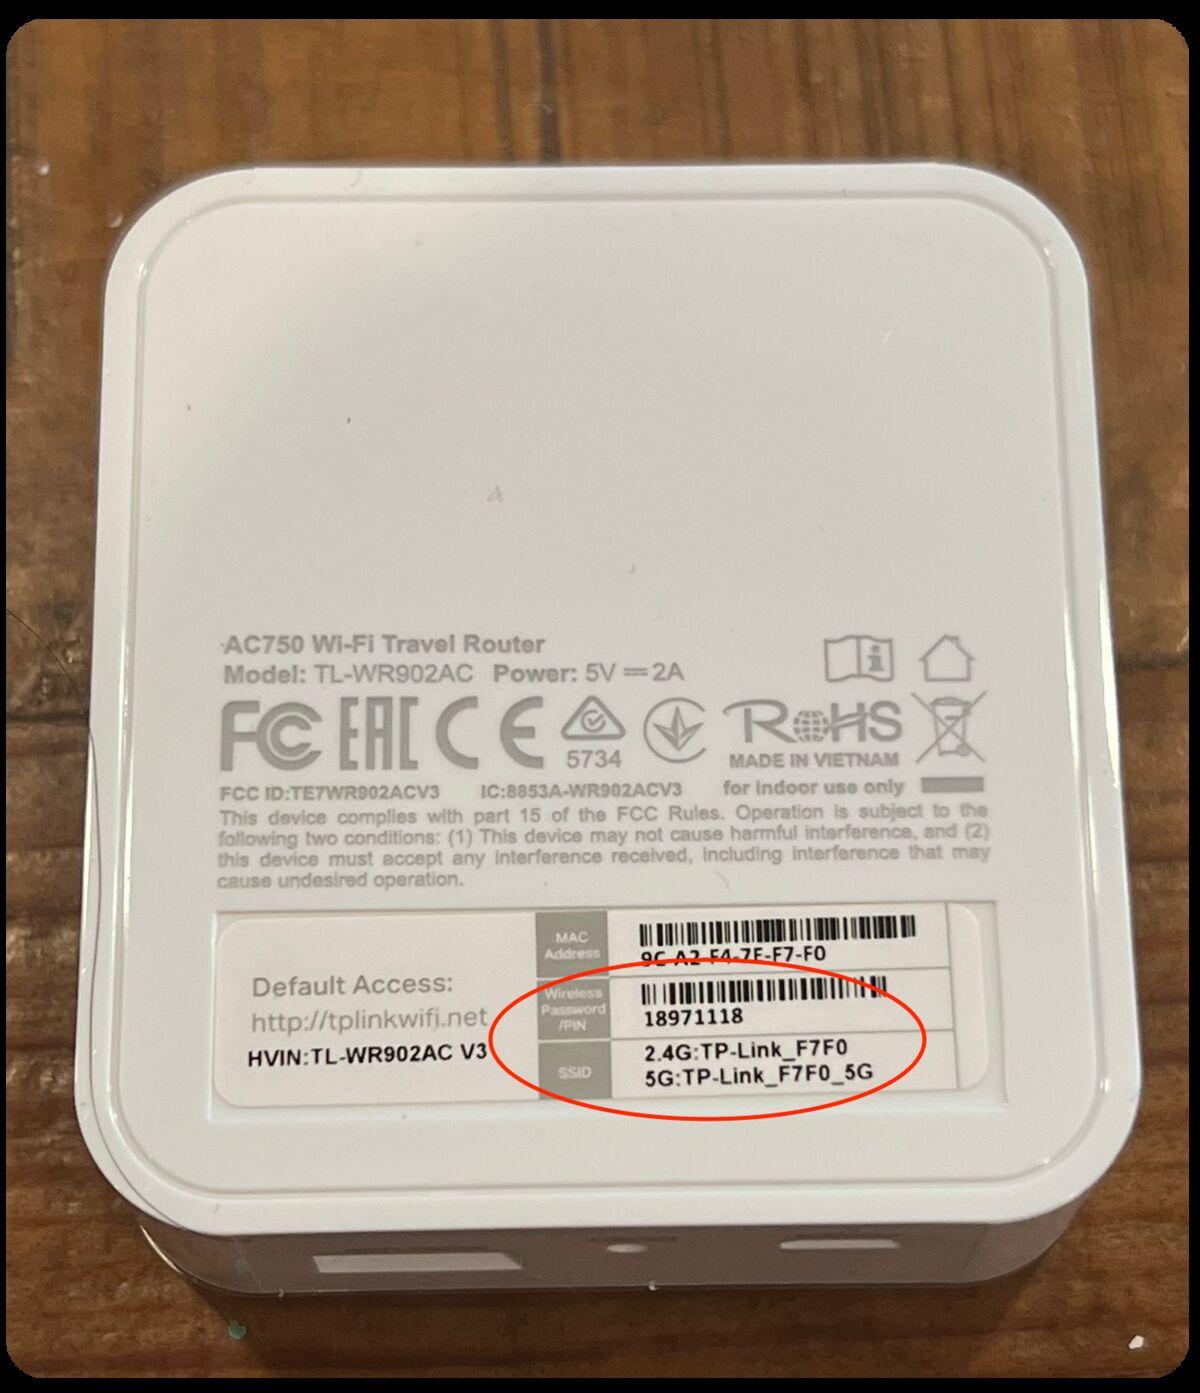
On the back of the mini router, you'll see the default SSID (network name) and password at the bottom of the label. Write both down — you'll need them to connect to the router in Step 3.
Step 2 · Check the Mode Switch
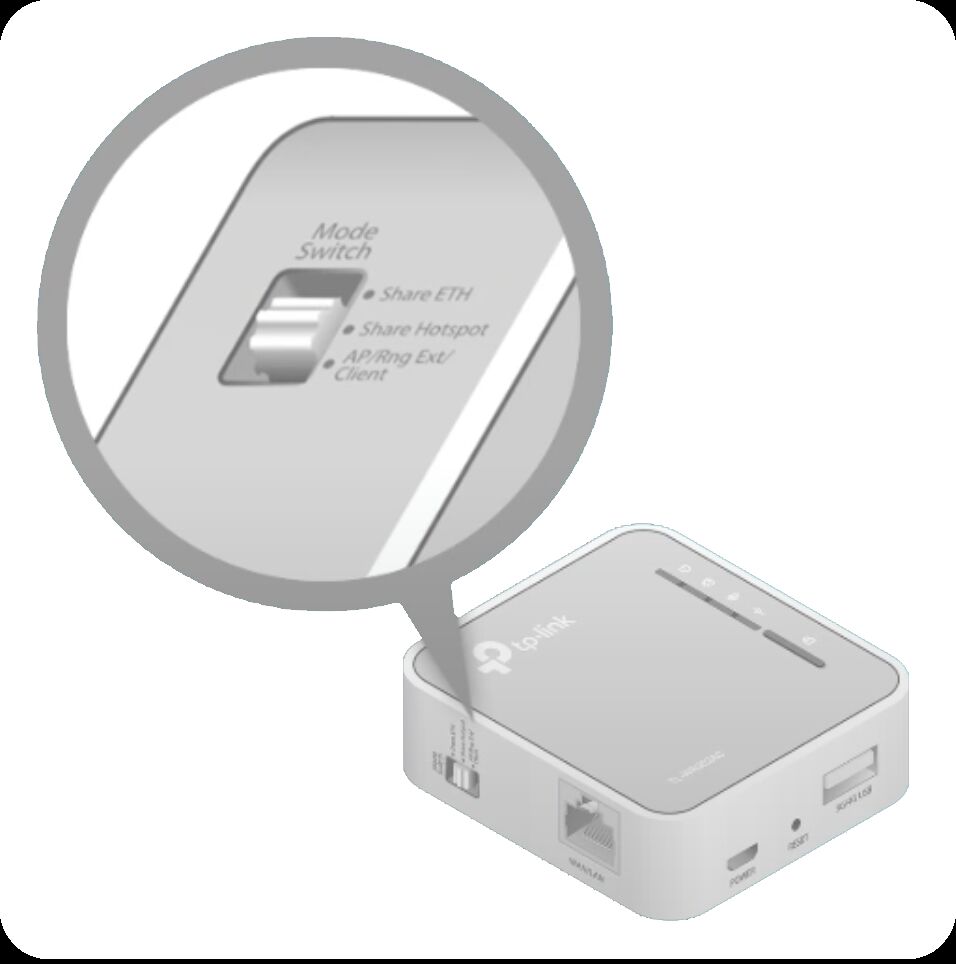
On the side of the mini router there's a small Mode Switch with three positions. Make sure it's set to the middle position labeled Share Hotspot.
Step 3 · Connect your computer to the mini router
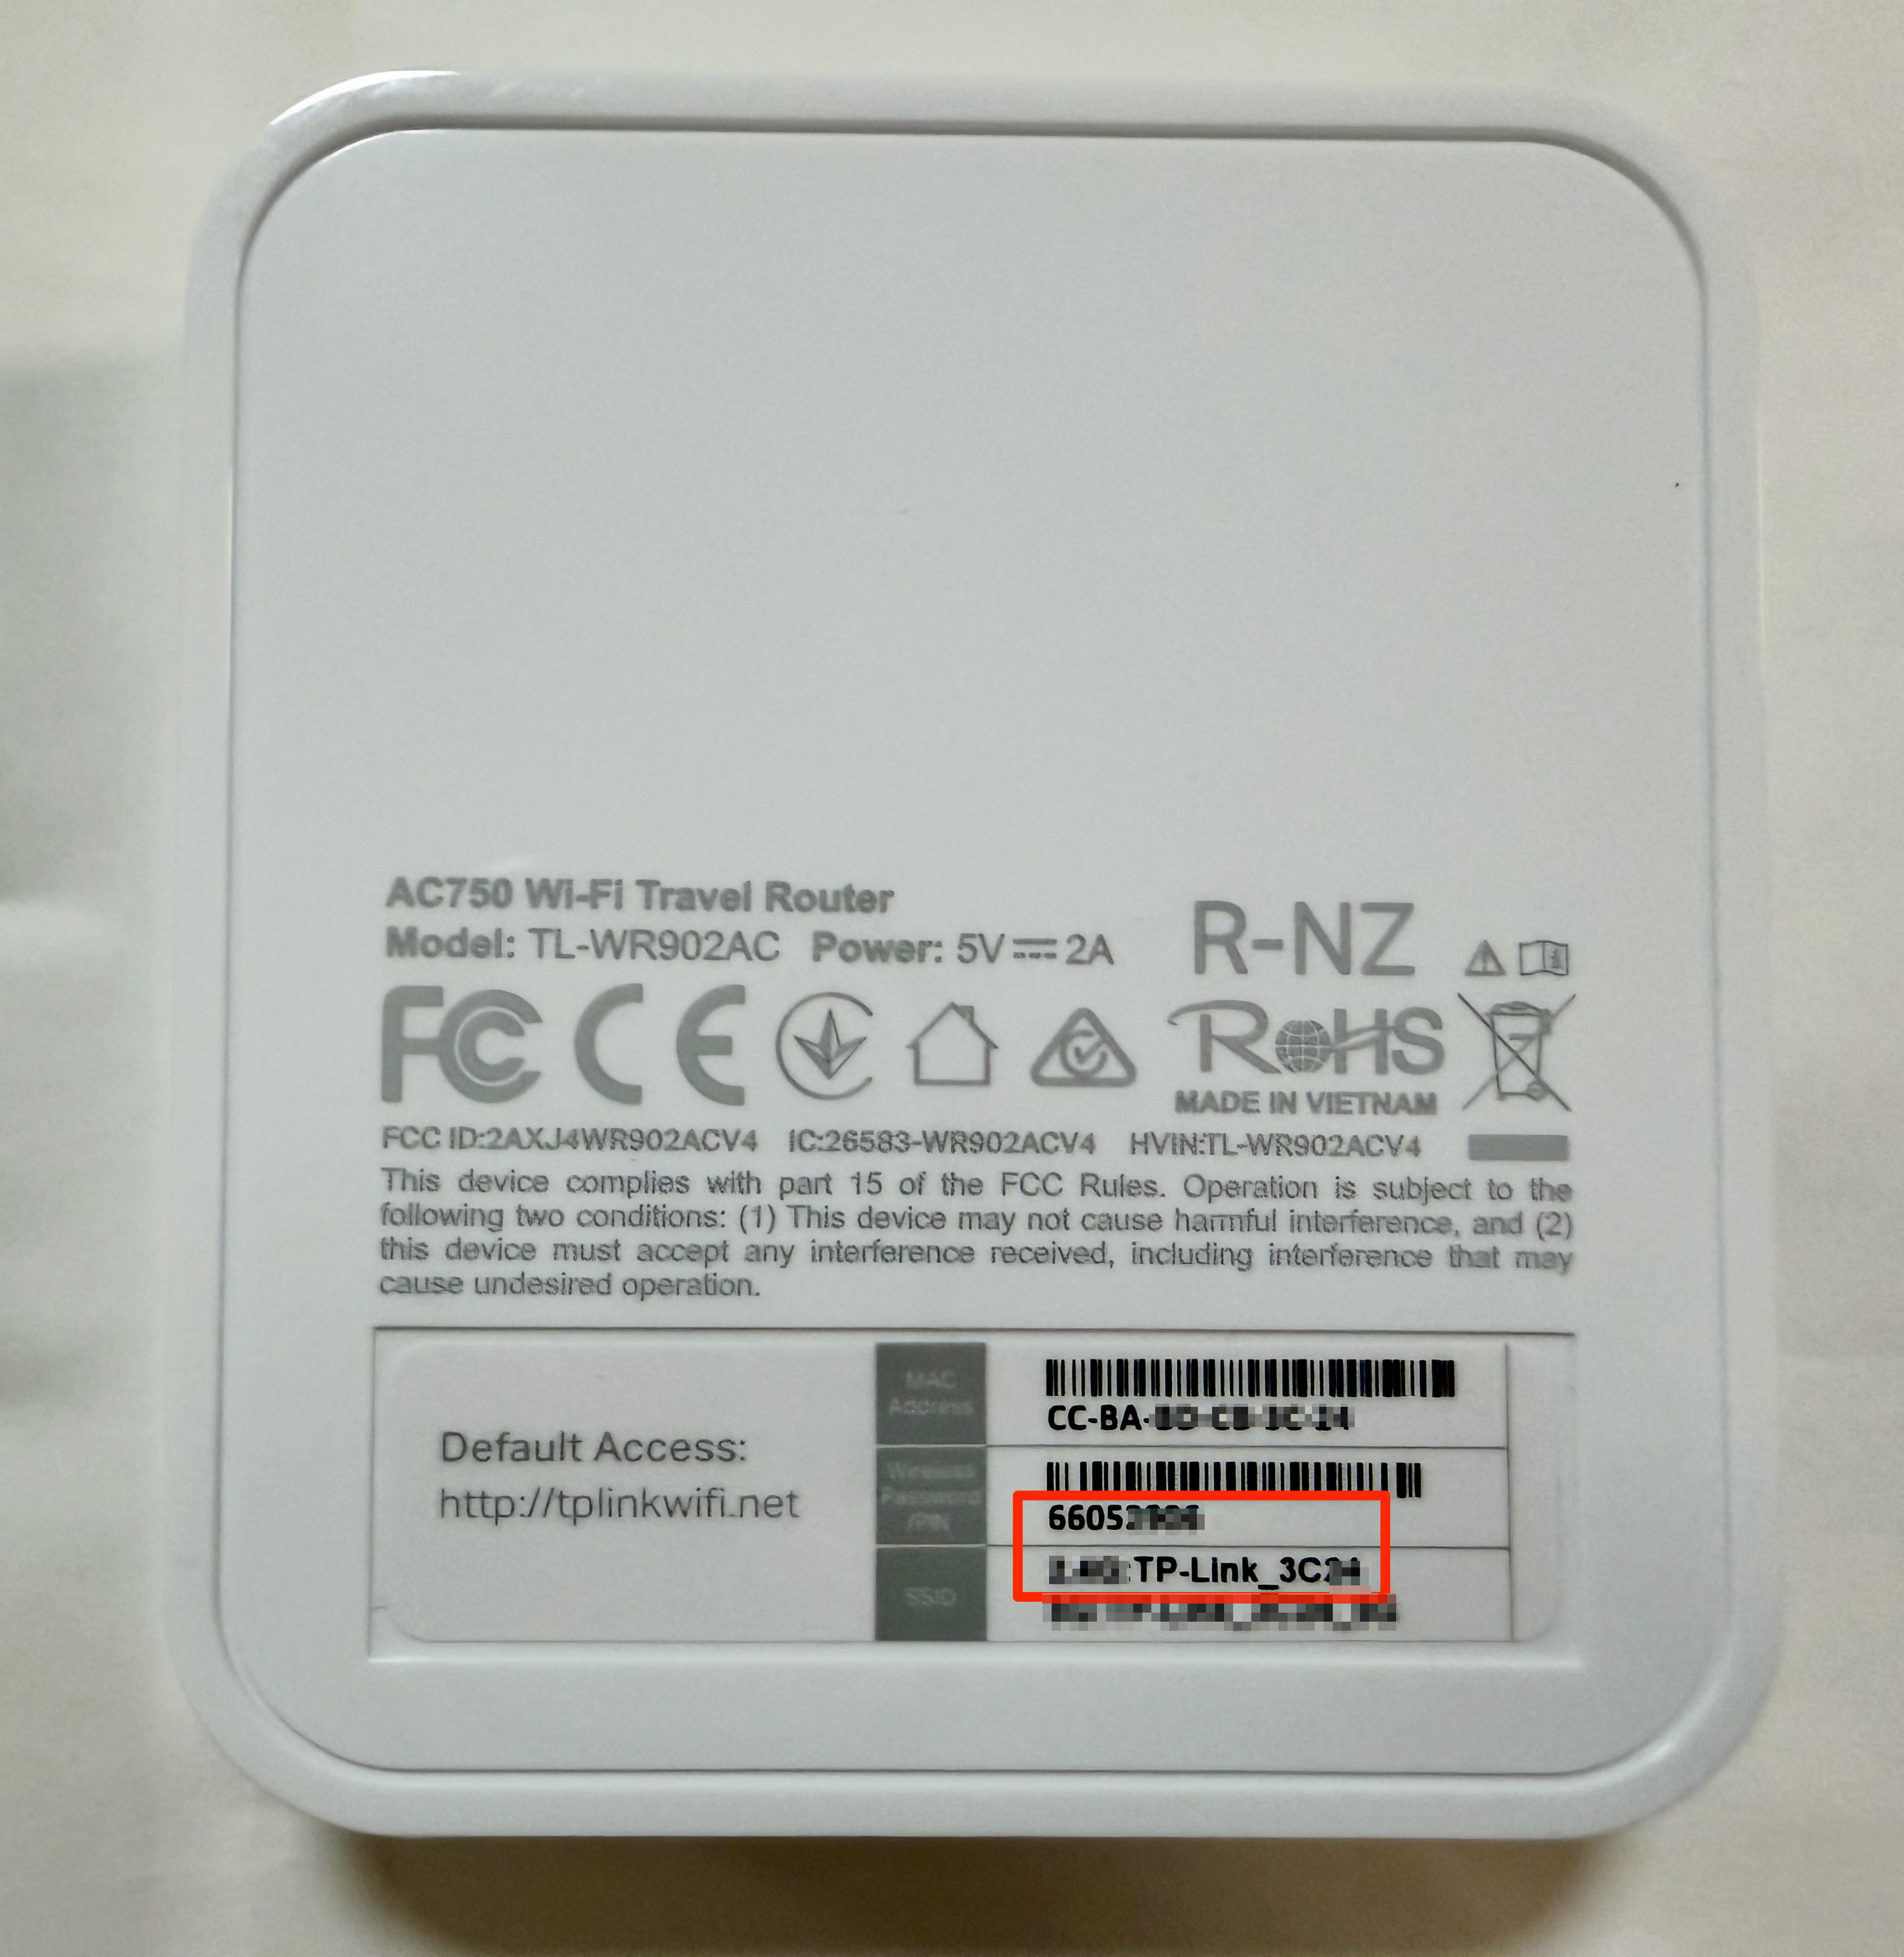
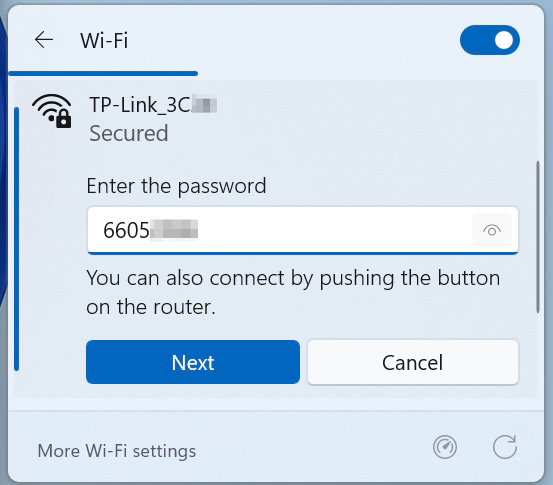
On a computer or device, open your network settings and find the TP-Link SSID listed on the back of the router. Select the network and connect using the password from Step 1.
Step 4 · Open the setup page
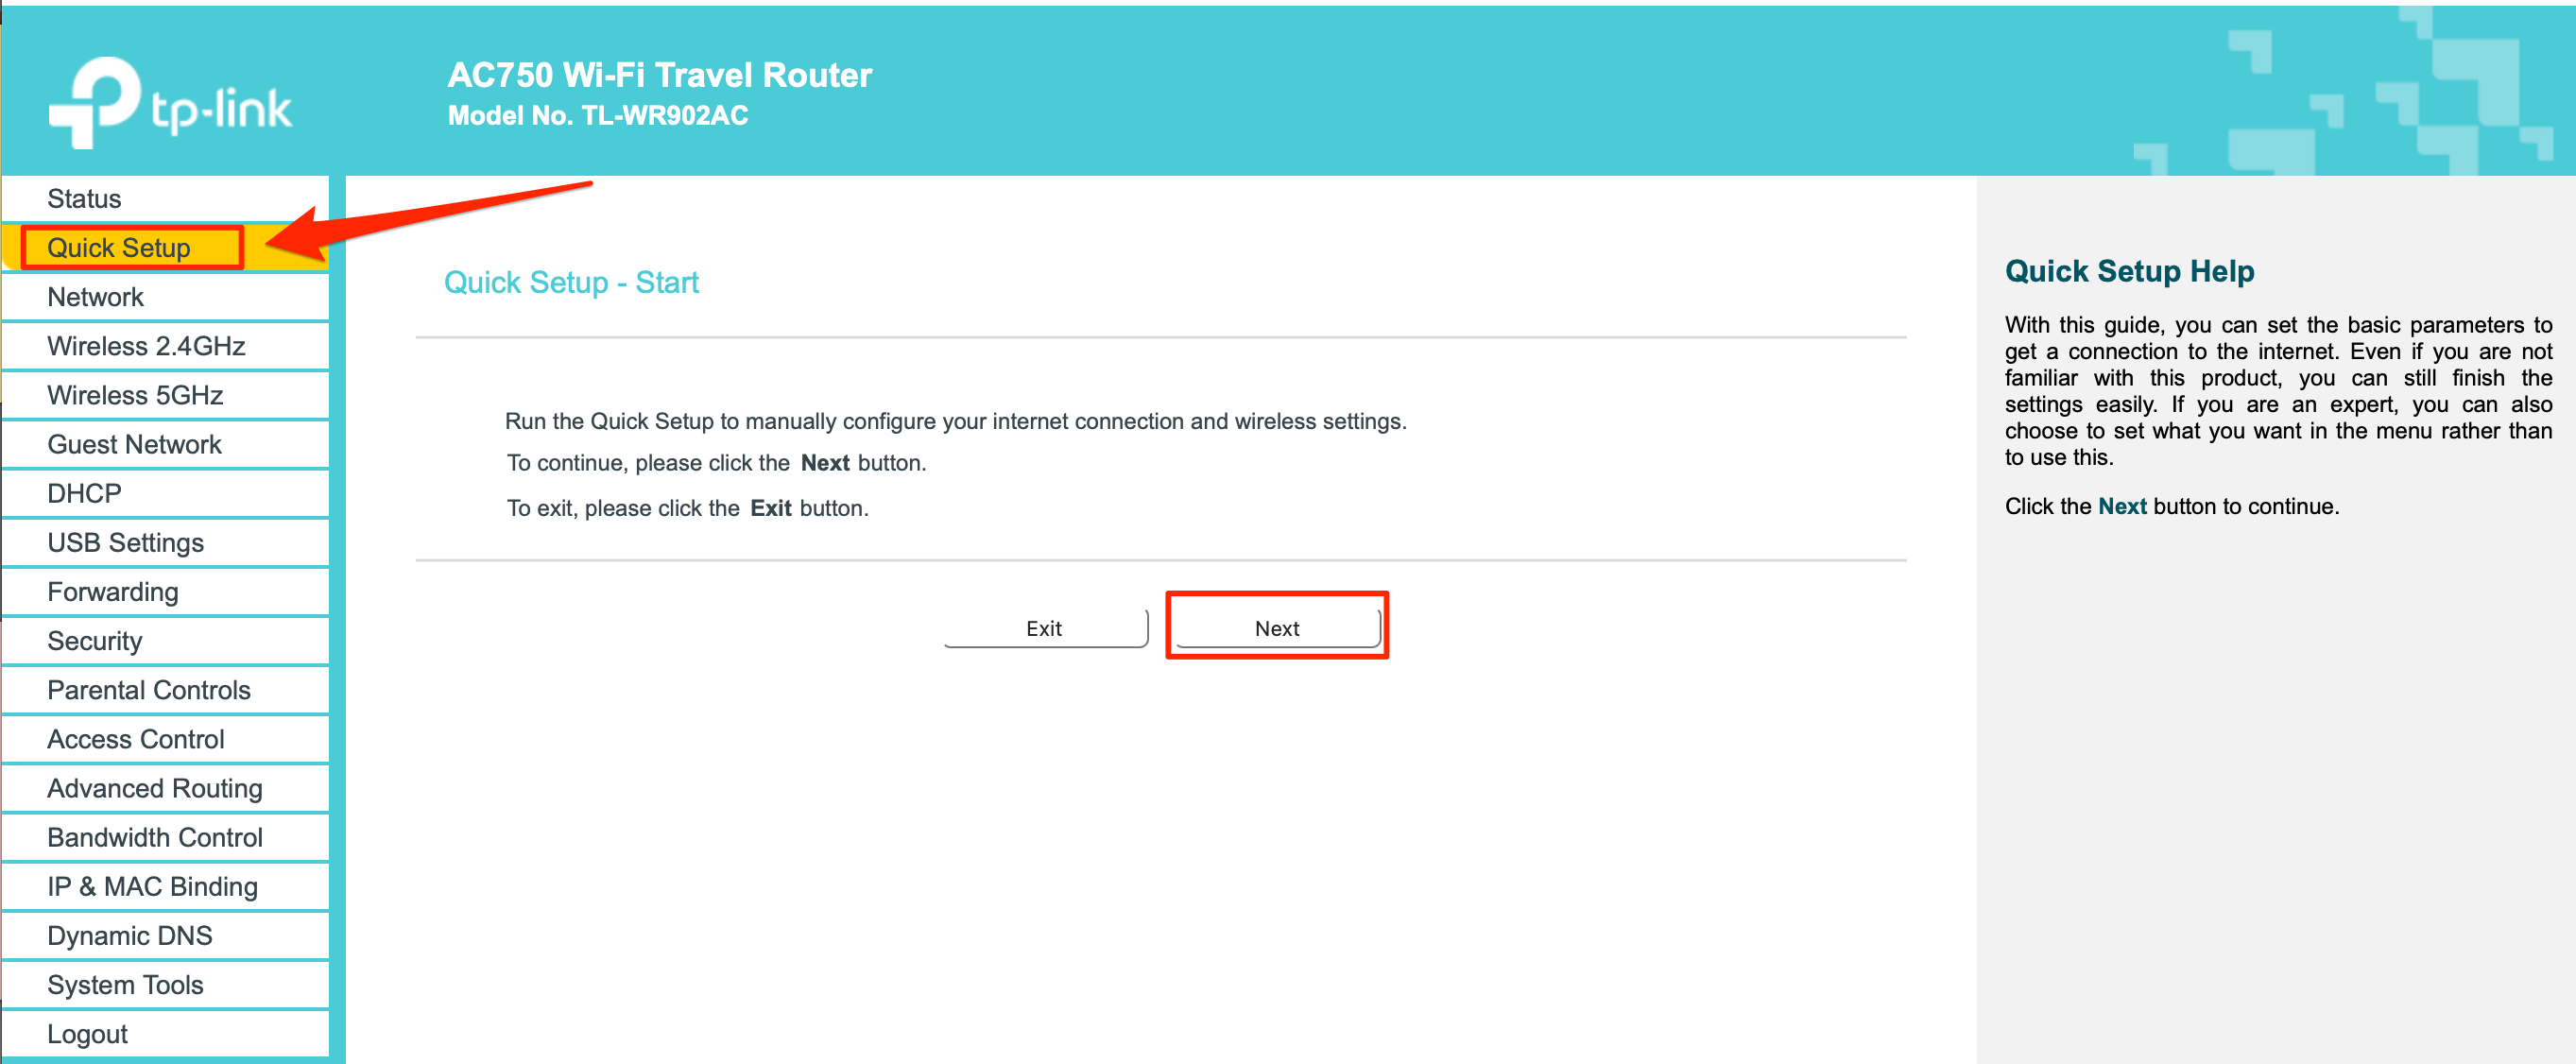
Once your computer is connected to the mini router, open a browser and go to tplinkwifi.net. Log in (or create an account if prompted), click Quick Setup in the left-side column, and click Next.
Step 5 · Connect the router to your new store WiFi
Select Dynamic IP for the WAN connection type, then click Next. Let the page load and find your store's new network name. Click Connect, enter the new password, and click Finish. Review the page and select Finish once more if prompted.
Step 6 · Switch back to your main network
Once this is complete, move your computer back to your store's main internet. The printer's Network LED should turn solid green once the router reconnects.